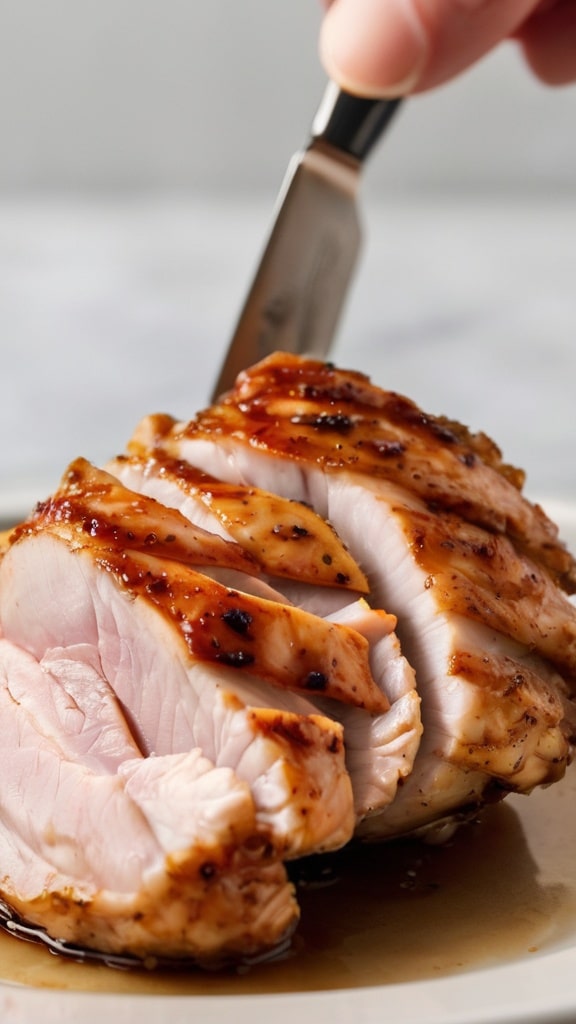
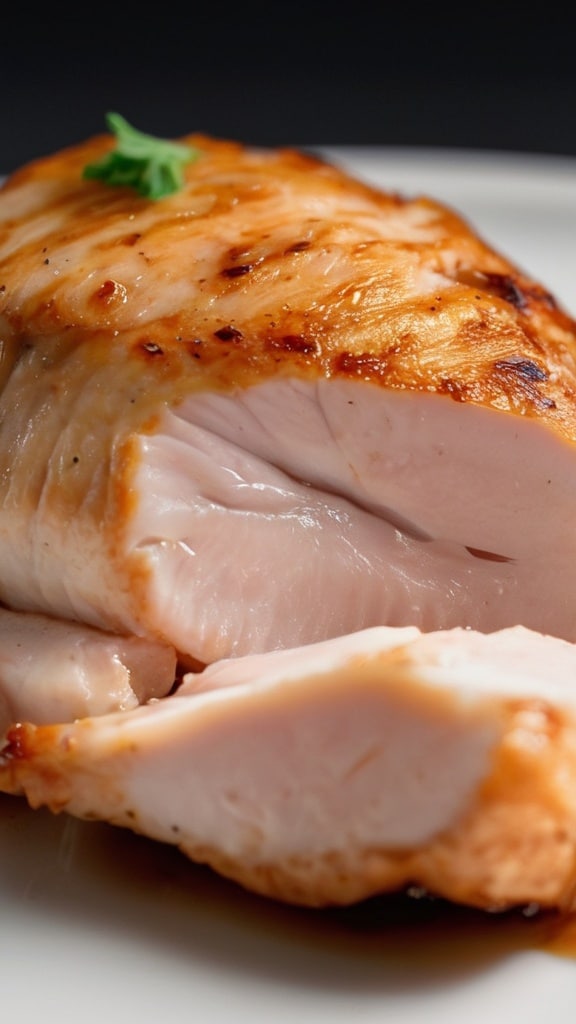
I still remember the day my ancient oven finally gave up the ghost right before a dinner party, naturally. In desperate need of a solution, I unearthed the air fryer my mother-in-law had gifted me (which had been collecting dust in the pantry for months). What happened next fundamentally changed my approach to cooking chicken breast forever. Those air-fried chicken breasts emerged with a golden exterior that audibly crackled when sliced, revealing juicy, tender meat that my dinner guests swore was restaurant-quality.
Air-fryer boneless chicken breast represents the perfect intersection of convenience and culinary excellence a technique that delivers professional results with minimal equipment and effort. Unlike traditional methods that often lead to dry, flavorless protein, the air fryer creates an environment where rapid air circulation produces a beautiful exterior crust while sealing in moisture. It’s essentially conduction and convection heat working in beautiful harmony, transforming one of the most notoriously finicky proteins into something reliably exceptional.
Ingredients & Substitutions
Core Ingredients
- 2 boneless, skinless chicken breasts (8-10 oz each)
- 2 tablespoons olive oil (or avocado oil)
- 1 teaspoon kosher salt
- ½ teaspoon freshly ground black pepper
- 1 teaspoon garlic powder
- 1 teaspoon paprika (sweet or smoked)
- ½ teaspoon dried oregano
- ¼ teaspoon cayenne pepper (optional)
Marinade Option (4-hour minimum)
- 3 tablespoons plain yogurt or buttermilk
- 1 tablespoon olive oil
- 2 cloves garlic, minced
- 1 tablespoon lemon juice
- 1 teaspoon honey or maple syrup
- Spices as listed above
The protein selection here matters tremendously. While any boneless chicken breast will work, air fryers reward quality ingredients. Free-range, air-chilled chicken breasts typically contain less water, meaning less moisture loss during cooking and more concentrated flavor. Size consistency is crucial—either select breasts of similar dimensions or butterfly larger ones to create even thickness (more on this technique later).
Olive oil serves double duty here—it helps seasonings adhere while promoting browning through heat conduction. However, avocado oil makes an excellent substitution with its higher smoke point and neutral flavor. For those avoiding oils entirely, a light coating of mayonnaise (yes, mayonnaise!) creates remarkable browning while keeping the meat incredibly moist.
For herb substitutions, the world’s your oyster. Fresh herbs can replace dried at a 3:1 ratio (three times more fresh than dried). Thyme, rosemary, and tarragon all work beautifully with chicken, though their more assertive flavors should be used judiciously. Those avoiding nightshades can substitute the paprika with ground turmeric or additional herbs.
The yogurt marinade option elevates this dish substantially. The lactic acid in yogurt or buttermilk tenderizes proteins while adding tanginess. This approach borrows from both Indian tandoori traditions and Southern buttermilk chicken techniques. Dairy-free alternatives include coconut yogurt with a splash of lime juice to mimic that acidic tenderizing effect.
Step-by-Step Instructions

Preparation
- Start with room temperature chicken breasts—always. Cold protein hitting heat creates uneven cooking and tightens muscle fibers. Take your chicken breasts out of the refrigerator 20-30 minutes before cooking (keeping food safety in mind—no more than 30 minutes at room temperature).
- Examine your chicken breasts critically. If they’re significantly thicker at one end (and they usually are), butterfly them or use a meat mallet to create even thickness. Uneven thickness is the number one cause of simultaneously overcooked and undercooked chicken. For butterflying, place your hand flat on top of the breast, and with a sharp knife parallel to your cutting board, slice through the thickest part almost to the edge, then open like a book.
- Pat the chicken breasts absolutely dry with paper towels. Moisture is the enemy of browning—those water molecules must evaporate before browning can begin, which extends cooking time and can dry out your protein. This step might seem insignificant, but its perhaps the most important for texture development.
Seasoning & Air Frying
- If using the direct seasoning method, brush the chicken with olive oil, ensuring light but complete coverage. If you’ve chosen the marinade route, remove chicken from marinade and wipe off excess (leaving some for flavor but removing pools of liquid).
- Apply seasonings generously and evenly to both sides, pressing gently to adhere. A common mistake is under-seasoning—remember that some seasoning will fall off during cooking, and chicken breast itself has mild flavor that needs enhancement.
- Preheat your air fryer to 380°F (193°C) for at least 3 minutes. Preheating isn’t optional—it ensures immediate searing when the chicken is added, helping to lock in moisture. Most modern air fryers have a preheat function, but if yours doesn’t, simply run it empty at cooking temperature for 3-5 minutes.
- Place chicken breasts in the air fryer basket, ensuring they don’t touch or overlap. Overcrowding is disastrous for air frying—it creates steam rather than dry heat, preventing proper browning. Cook in batches if necessary; quality trumps convenience.
- Cook for 6 minutes, then flip the breasts and continue cooking for another 5-7 minutes. Total cooking time varies based on thickness—typically 10-14 minutes total for evenly flattened breasts. The only reliable doneness test is an instant-read thermometer inserted into the thickest part, registering 165°F (74°C). If you lack a thermometer, a small incision should reveal meat that’s opaque all the way through with clear (not pink) juices.
- Critical step: Allow the chicken to rest for at least 5 minutes before cutting. During cooking, muscle fibers contract and push juices toward the center of the meat. Resting allows these fibers to relax and reabsorb moisture. Skip this step, and you’ll watch all that flavorful juice run onto your cutting board instead of staying in the meat.
Variations
For Mediterranean-inspired chicken, add 1 teaspoon dried oregano, 1 teaspoon lemon zest, and ½ teaspoon dried thyme to your seasonings. Finish with a squeeze of fresh lemon after cooking.
For smoky southwestern flavor, substitute the paprika with chipotle powder and add ½ teaspoon ground cumin. A sprinkle of chopped cilantro after cooking brightens the dish considerably.
For an Asian-inspired variation, replace the oregano with ground ginger and add ½ teaspoon Chinese five-spice powder. Brush with a mixture of honey and soy sauce during the last 2 minutes of cooking.
Cooking Techniques & Science
The air fryer’s magic lies in its ability to mimic deep frying through rapidly circulating hot air—essentially an accelerated convection oven. Most models use the Maillard reaction—a chemical reaction between amino acids and reducing sugars—to create hundreds of new flavor compounds on the food’s surface. This reaction requires temperatures above 280°F (138°C) and relatively dry conditions, which the air fryer provides perfectly.
Unlike traditional ovens where heat radiates from elements, the air fryer’s mechanical fan forces hot air to move across the food’s entire surface at high velocity. This creates more efficient heat transfer and promotes faster browning. The confined cooking chamber also accelerates moisture evaporation from the surface, which is essential for developing that golden exterior without overcooking the interior.
The difference between mediocre and spectacular air-fried chicken lies in understanding thermal mass and equilibrium. Chicken breast has relatively low thermal mass compared to other proteins like steak. This means it heats quickly but also loses heat rapidly. The flip in step 8 isn’t just for even color—it reestablishes thermal equilibrium across the protein’s surface, preventing hot spots that could lead to uneven cooking.
Air fryer models vary significantly in power and design, which affects cooking times. Basket-style air fryers generally provide better air circulation than oven-style models. Wattage matters tremendously—a 1700-watt model will cook faster than a 1300-watt model, sometimes by several minutes. This variability is why visual and temperature cues should always supersede prescribed cooking times.
The chicken’s internal temperature continues rising during the resting period—typically by 5-10°F. This “carryover cooking” means you can actually remove chicken from the air fryer at 160°F (71°C), and it will reach the food-safe 165°F during resting while remaining juicier.
Serving & Pairing Suggestions

Presentation elevates air-fried chicken breast from weeknight staple to dinner party worthy. For an elegant plating, slice the chicken on a bias (diagonal), which creates wider, more visually appealing pieces that expose the juicy interior. Arrange these slices in a fan pattern over accompanying sides.
A drizzle of quality finishing oil (herb-infused olive oil, chili oil, or even a touch of truffle oil) adds visual appeal and flavor complexity. Alternatively, a compound butter medallion placed atop the hot chicken creates a luscious, melting sauce as it hits the table. My preferred combination: butter mixed with minced shallots and thyme.
For vibrant color contrast, scatter microgreens, fresh herb leaves, or edible flowers across the plate. These aren’t mere garnishes—they add textural variation and bright, fresh flavors that complement the savory depth of the chicken.
Side pairings depend on your flavor profile. Mediterranean-seasoned chicken pairs beautifully with orzo tossed with roasted cherry tomatoes, feta, and olives. The southwestern variation demands a black bean and roasted corn salsa or cilantro-lime rice. Asian-inspired chicken calls for sesame-ginger vegetables or coconut rice.
Wine pairings should match the chicken’s intensity and complement its seasonings. A standard herb-forward preparation calls for light-bodied whites like Sauvignon Blanc or unoaked Chardonnay. The smoky southwestern version can stand up to rosé or even light reds like Pinot Noir. The Asian variation works wonderfully with off-dry Riesling or Gewürztraminer.
For family-style service, consider slicing the chicken and arranging it on a platter surrounded by roasted vegetables that could also be prepared in the air fryer—multicolored bell peppers, zucchini, and cherry tomatoes require only a light coating of olive oil and the same herbs used on the chicken.
Conclusion
Mastering air-fryer boneless chicken breast revolutionizes one of cooking’s most common but challenging proteins. The technique combines the speed of modern technology with time-honored culinary principles of proper seasoning, even cooking, and adequate resting. The result transcends the chicken breast’s reputation for blandness and transforms it into a canvas for countless flavor profiles.
The key takeaways for perfect results everytime: ensure even thickness, thoroughly dry the surface, preheat adequately, avoid overcrowding, and—perhaps most importantly—respect the resting period. Temperature management remains crucial; invest in an instant-read thermometer if you prepare chicken regularly.
For troubleshooting, remember that underdone chicken can always be returned to the air fryer for additional cooking, but overdone chicken cannot be salvaged. When in doubt, err on the side of less cooking time initially. If your chicken seems dry despite following these techniques, consider brining it beforehand—a simple solution of 4 cups water, ¼ cup kosher salt, and optional aromatics like garlic cloves and peppercorns, with chicken submerged for 30 minutes to 2 hours before cooking.
The true beauty of air-fryer chicken breast lies in its versatility as a meal component. Master the base technique, and you’ve created a protein that can anchor countless meals—sliced over salads, stuffed into sandwiches, diced into grain bowls, or served as a sophisticated main course. With practice, you’ll develop an intuitive sense of timing and temperature that makes this technique second nature, elevating a humble protein to something consistently extraordinary.
FAQs
Why does my chicken breast often turn out dry in the air fryer?
The most common culprits are uneven thickness and overcooking. Always butterfly or pound chicken breasts to even thickness (approximately ¾-inch throughout). Use an instant-read thermometer and remove the chicken at 160-162°F—carryover cooking will bring it to the food-safe 165°F while keeping it juicy. Also consider using the yogurt marinade mentioned earlier; the lactic acid tenderizes the protein while adding moisture.
How can I get more flavor into my air-fried chicken breast?
Layering flavors is key. Consider a quick 30-minute marinade (longer isn’t necessarily better with boneless breasts), followed by a dry rub before air frying. For maximum impact, add a finishing element after cooking—a flavored butter, herb-infused oil drizzle, or even a quick pan sauce made while the chicken rests. Fresh herbs added after cooking provide bright, aromatic notes that contrast beautifully with the savory depth of the cooked protein.
My air fryer creates smoke when cooking chicken breast. How can I prevent this?
Smoke typically results from fat dripping onto the heating element. First, ensure your chicken is properly trimmed of excess fat. Second, add 1-2 tablespoons of water to the bottom drawer beneath the basket—this catches drippings and prevents smoking. Some models allow you to place a slice of bread under the basket to absorb drippings. Finally, check that your air fryer is clean from previous use, as residual fat can cause smoking.
Can I cook frozen chicken breasts directly in the air fryer?
Yes, but with caveats. Frozen chicken requires lower initial temperature to allow the interior to thaw without burning the exterior. Start at 350°F (175°C) for 5 minutes to thaw, then increase to 380°F (193°C) to finish cooking, approximately 15-20 minutes total. The results won’t be quite as perfect as with fresh chicken, particularly regarding even browning, but it’s a viable option for quick meals. Always verify doneness with a thermometer, as cooking times vary significantly with frozen protein.
How can I adapt this technique for different sizes of chicken breast?
The key variable is thickness, not weight. A 12-ounce breast pounded to ¾-inch thickness will cook more quickly than an 8-ounce breast left at its natural 1½-inch thickness. As a general rule, add approximately 1-2 minutes of cooking time per additional ¼-inch of thickness. For very large breasts, butterfly them completely into two thinner cutlets rather than leaving them whole. This not only speeds cooking but ensures more seasoned surface area per bite. Always rely on temperature testing rather than time alone.

